Like many other women out there, I am constantly battling blackheads. I certainly don’t have the worst case of blackheads, but as women, we tend to get annoyed by even the slightest flaw.
I’ve tried the classic baking soda treatment so many times. As you might already know this, it consists of applying a baking soda paste made with baking soda and plain water (check), milk (check) or lemon juice (…and check) and applying it to problem areas.
The truth is, baking soda makes an excellent skin cleanser, but it doesn’t penetrate deep enough into the pores – even if you steamed your face before applying it – , so that perfectly clean look your skin gets after this routine probably won’t last for more than a day. At least for me it didn’t.
In my never-ending quest for banishing blackheads, I found a few other easy-to-make DIYs that work better and provide longer-lasting results. Here they are!
 Oil Cleansing
On the chemistry principle “like dissolves like”, oil cleansing has become quite popular as one of the easiest, all-natural methods for blackhead removal, makeup removal, and even for reducing acne.
The short version: applying a combination of natural oils onto your skin will allow those dirty oils, makeup, dust, and other impurities that are trapped in your pores to dissolve.
So, how does this work exactly? Well, the classic combination of oils used for oil cleansing is castor oil and olive oil. Castor oil is naturally astringent, mildly anti-inflammatory, and antiseptic, but it also promotes skin healing.
While it should not be used undiluted, if you mix it with olive oil (another amazing, natural moisturizer) in various amounts, depending on your skin type you get the perfect cleansing oil. It’s not an exact science, but here are the basic ratios:
- Oily skin – 1/3 castor oil and 2/3 olive oil
- Normal/combination skin – ¼ castor oil and ¾ olive oil
- Dry/sensitive skin – Just olive oil – optionally you can add a small amount of castor oil
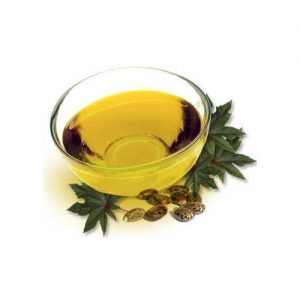
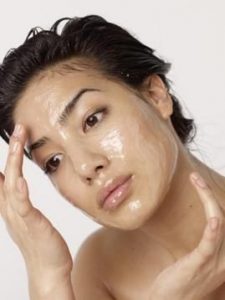
Since you only need a small amount of oil (about a quarter size in your palm) you can mix these oils right before using them. Apply all over your face with a gentle massage for 1-2 minutes. Ensure your skin is saturated with oil – you need to have an even layer of oil all over your face.
You can leave it on for up to 10 minutes so the oils have enough time to go deeper into your pores and dissolve all the trapped dirt.
Then, soak a clean washcloth in hot tap water (just make sure it’s not hotter than you can handle) and place it on your face right away. Repeat with the other side of the washcloth and then use it to remove any excess remaining oil.
I have a sensitive skin type with the occasional dry spots (especially during winter) so I must admit I don’t use castor oil at all. In fact after experimenting with several carrier oils, macadamia nut oil is the one that works best for me.
Feel free to try out other oils yourself, but do some research first to make sure they are suitable for your skin type. In fact, the most important thing about oil cleansing is using the oil that suits your skin most. This obviously takes a bit of experimenting, but trust me…it’s definitely worth the effort.
Usually, you won’t need any moisturizer after oil cleansing – the skin will still have some oil in it. However, if you’re like me – my eye area is usually pretty dry – you might want to apply a moisturizer or your favorite natural oil in those overly dry areas. I use avocado oil for this, it’s by far my favorite moisturizing oil, but I wouldn’t recommend it for oily and/or acne-prone skin.
Oil cleansing is really one of the most gentle methods of getting rid of blackheads, so you can do it daily (preferably in the evening, before bed time). From my experience, you probably won’t see those blackheads magically vanish, but if you stick to OC and do it at least 3 times a week, they will be significantly reduced.
 Homemade Peel Off Mask
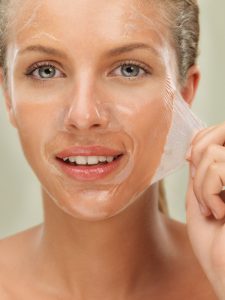
This mask is similar to store-bought pore strips, but without any dangerous chemicals in it. The best part about it, is it’s easy to make, extremely cheap and it really works! Here’s what you need:
- 1 tablespoon unflavored gelatin
- 1 ½ – 2 tablespoons milk
Mix these two ingredients in a microwave-safe container. Microwave for 10-15 seconds. Quickly apply it on your entire face or just on problem areas. Be aware – this mixture hardens pretty fast. You can use a wooden spatula, an old makeup brush or a facial mask brush.
If you regularly use masks, I truly recommend you get a facial mask brush – it’s affordable and makes application so much easier. Leave it on until it dries and carefully peel it off and wash your face with warm water.
Like for any other cosmetic treatment it’s best to steam your face before this one too. This way the peel off will work at maximum efficiency.
 Activated Charcoal & Clay Mask
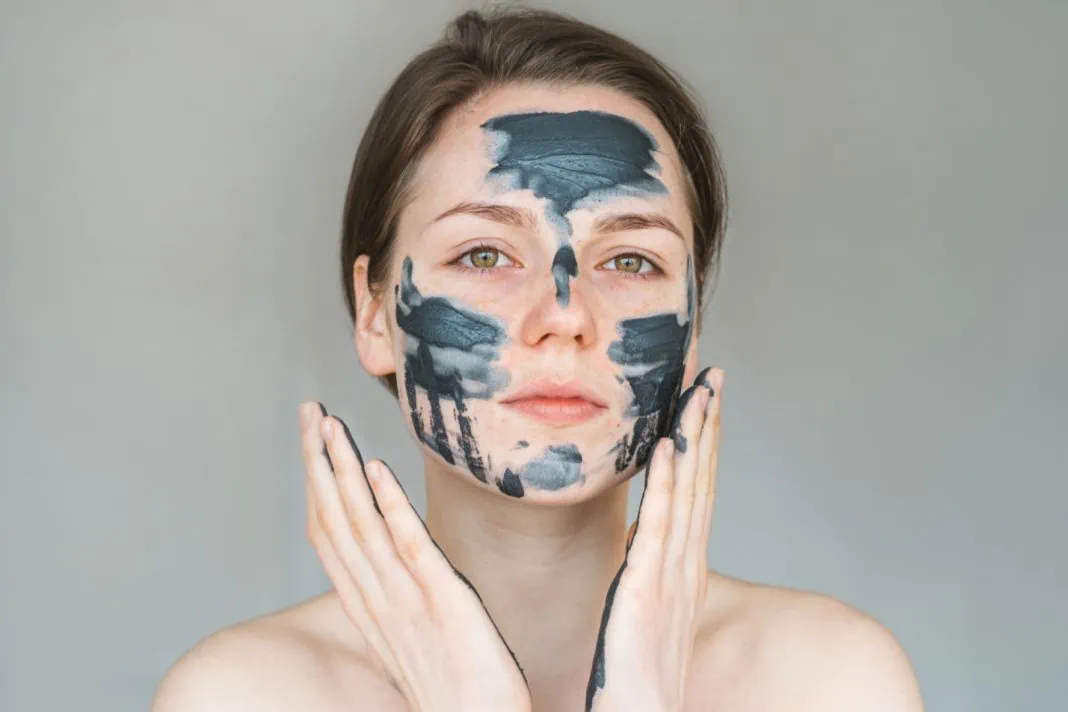
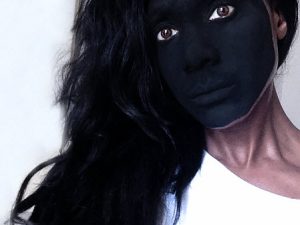
It might seem weird to paint your face black in order to get rid of blackheads. However, activated charcoal is excellent at drawing out and trapping dirt from your pores. Cosmetic clay works in a similar manner so these two ingredients will perfectly complement each other. You’ll need:
- 2 capsules of activated charcoal
- ½ teaspoon of clay (read below about which type to choose)
- 1 ½ teaspoons of water.
In a non-metallic container empty the two charcoal capsules and add the clay and water. Using a non-metallic spoon or spatula (both clay and activated charcoal can interact with metals) mix the ingredients well until they become a paste.
Use an old makeup brush or a facial mask brush to apply it. You can spread it on the entire face or just on those areas where you have blackheads. As an added bonus this mask is also a great acne treatment. Leave it on until it dries – about 10 minutes – and rinse it off with lukewarm water. Pat dry your face with a clean towel and apply your favorite moisturizer.
You might ask yourself – which type of clay should I use? Firstly, it needs to be cosmetic grade clay so you’ll be 100% sure it’s safe to use on the skin. Secondly, there are lots of types of clay, but in this case, you’ll probably want a highly absorbent one so I recommend bentonite clay or green (montmorillonite) clay.
These clays are highly effective at drawing out the oils and impurities from your skin. Nevertheless, if you have sensitive/dry skin, you’ll probably need to use a gentler clay – white clay (kaolin) makes a great choice.
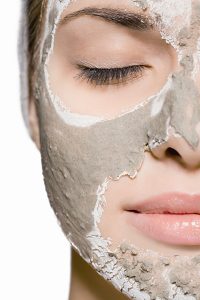
Speaking of, clay masks are another great skin cleansing treatment and extremely versatile depending on what other ingredients you use besides clay – they can help with a lot of skin problems. I openly admit my addiction to clay masks since I use them at least once a week.
All of these DIY blackhead removal methods work, and they’re even more powerful if you use them all. Oil cleansing is extremely gentle so it can be done daily.
You might not want to overdo it, especially if you’re also using other peeling treatments so it’s best not to use it more than 1-2 times a week. The same goes for the activated charcoal & clay mask. Also, if you have dry skin you might want to use this one on the problem areas only.
For me, these simple homemade cosmetics made my blackheads almost invisible and also improved my skin tone. I can only hope they do the same for you!
 Oil Cleansing
 Homemade Peel Off Mask
 Activated Charcoal & Clay Mask