Your smile is one of the first things people notice about you. Think about it, when you meet someone, most people tend to make eye contact, shake hands, and smile.
When your teeth are less than white, you become self-conscious about that smile, and that can make all the difference in the world, especially during a job interview or on a first date. Sure, there are tons of whitening products – strips and whatnot – but they’re terrible for you and can wreck your teeth. You can always take care of your teeth by knowing what foods are good or bad for your teeth, but let’s face it, it’s a lifestyle, not a miracle.
When I was in high school, I knew a ton of people who were relatively close to addicted to the strips (I could never use them – When I was in elementary school, I knocked out one of my front teeth on parallel bars and had to get it capped; that was the end of using any whitening products for me!). Many of those people had problems ranging from tooth and gum sensitivity to flat-out excruciating nerve pain.
Chemical-laden toothpaste isn’t a whole lot better. It might not have the same concentrated levels as the whitening products, but its fluoride, xylitol, and other ingredients could contribute to poor health. So what’s the solution?
Like everything else, commercial toothpaste hasn’t been around all that long (when you think about the grand scheme of things, anyway). What do you think people used to do before Crest came around? The made their toothpaste of course!
I’ve been making my own toothpaste for the last couple of years. Since I started to make my own concoction, my teeth are whiter, my breath seems to stay fresher longer, and my mouth feels cleaner overall. There are tons of different natural toothpaste recipes out there to suit your individual needs – Here are a few of them that I’ve tried and tested myself, hopefully, you’ll find one that works for you!
Home-made toothpaste recipes
For Remineralization
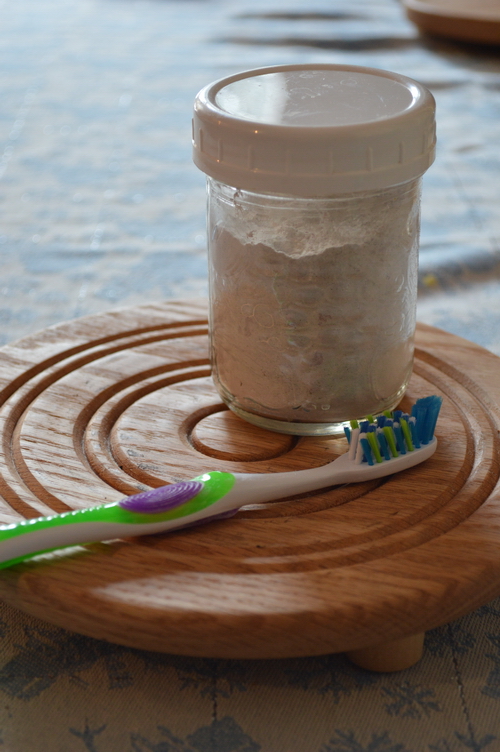
I use remineralizing toothpaste about once a week. I’ve been relatively lucky in the sense that I’ve never had a cavity, but that doesn’t mean that I wouldn’t like to prevent getting one in the future! That said, many people have reported healing their cavities with this kind of toothpaste, so if you’re someone who suffers from them but is unable to get yourself to a dentist, you might want to consider giving it a shot.
What You’ll Need
– 1/3 C Bentonite Clay – It might not sound appealing to put clay in your mouth, but it helps draw toxins out of your body and is worth a bit of discomfort.
– ¼ C of boiled or distilled water – It defeats the purpose if your water contains fluoride.
– 1-2 Tbsp of coconut oil
– ¼ tsp of real salt – Any type of salt that is naturally derived. If in doubt, get it from a health food store.
*Optional* 10 or so drops of peppermint essential oil – It can help freshen your breath and give the toothpaste a better taste.
Mix all ingredients and store in a covered jar (small mason jars are perfect for this). If you’re trying to get rid of cavities and remineralize, hold the mixture in your mouth for a minute or so after you’re done brushing before spitting it into the sink. You might also want to have something on hand to wipe your sink out with when you’re done – That clay can make quite a mess!
Recipe Via: Joybille Farm
For Whitening
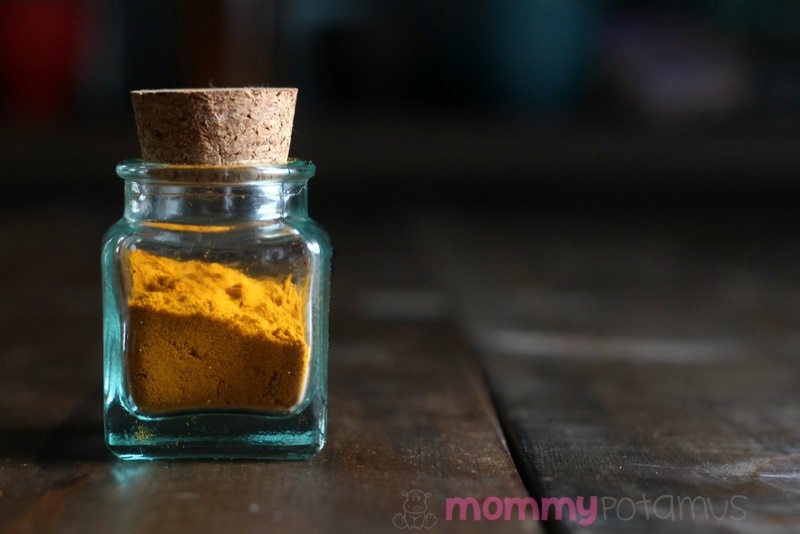
Who doesn’t want whiter teeth?! You don’t have to invest in whitening toothpaste or trays though – What you need to make that smile a little brighter can probably be found in your pantry!
What You’ll Need
– Organic Tumeric Powder (can usually be found at your local health food store, or otherwise purchased online).
– Natural Toothpaste
Wet your toothbrush, brush the powder on your teeth, and let it sit for about five minutes. Spit out and rinse super well, then follow up with toothpaste. It might take a couple of applications, but I assure you that your teeth will look like you’ve had them whitened. Just be careful when you’re using it – Everything it comes in contact with aside from your teeth, could be stained yellow by it.
TumerIc toothpaste can also be made by adding a little bit of coconut oil to make it a little more spreadable, but you’ll still need to brush your teeth afterward to ensure you get it all off.
Recipe via: Mommypotamus
Here’s another recipe that uses activated charcoal instead:
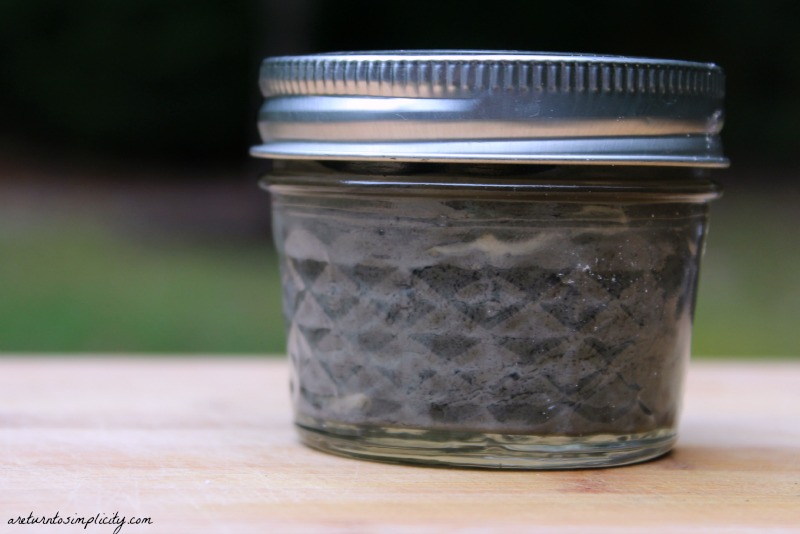
– 2 Tbsp bentonite clay
– ¼ tsp sea salt
– 1 Tbsp coconut oil
– 2 capsules of activated charcoal, broken open.
– ¼ tsp organic ground cloves
– 2 ½ Tbsp water
*Optional*
– EO
– Stevia
Combine all of the ingredients and store in a covered jar. Activated charcoal is messy, but it seems to be less scary than turmeric for some people.
For Remineralizing AND Whitening
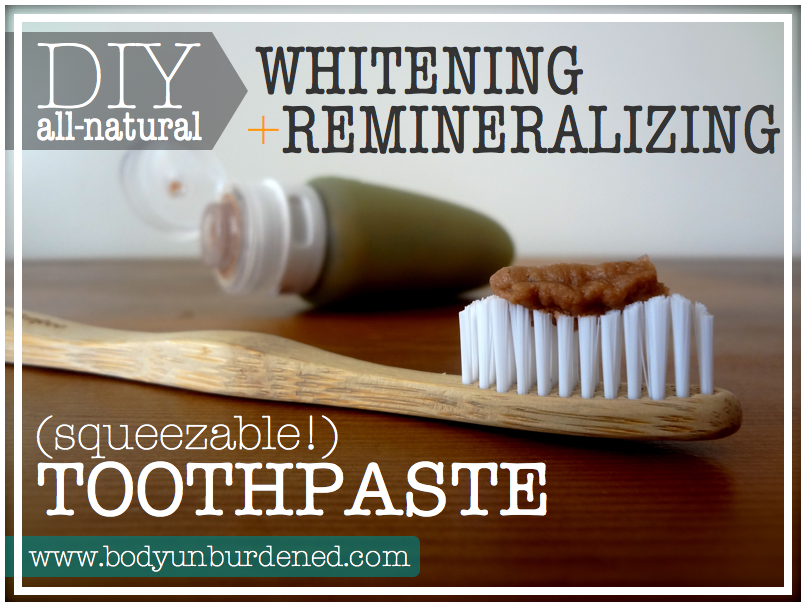
Some people don’t have time to use two different toothpastes (I’m looking at you, moms). If you’re one of those people, consider mixing up a batch of this toothpaste instead.
What You’ll Need
– 4 Tbsp coconut oil
– 3 Tbsp sesame oil
– 4 tsp bentonite clay
– 4 tsp cal/mag powder (if you can’t find it, get some tablets and crush them up to make powder)
– 3 Tbsp baking soda
– 1 Tbsp real salt
*Optional* Essential oils.
Melt the coconut oil in a double boiler and add the rest of the ingredients. It will have a salty taste (especially if you don’t use the EO), but it will help remineralize your teeth and give you a white smile without the fear of staining your bathroom counter yellow.
Recipe via: Body Unburdened
Squeezable Toothpaste
Some people prefer to have their homemade toothpaste resemble the kind that they used to buy at the grocery store. If you’ve never worked with all-natural toothpaste, this might be a good jumping point.
What You’ll Need
– 3 Tbsp bentonite clay
– 2 Tbsp coconut oil
– 1 tsp stevia (the plant, not the powder).
– ¾ tsp salt
– Water to thin
*Optional* Essential oil(s) of your choice.
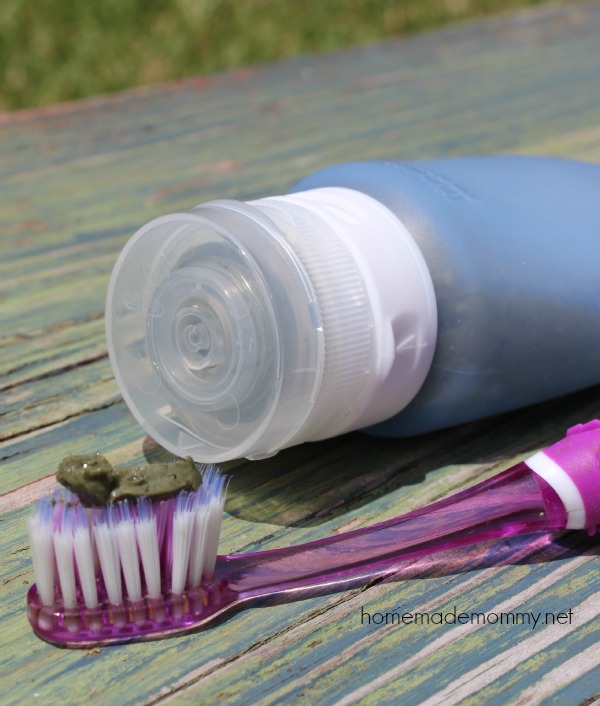
Mix all of the ingredients in a small glass bowl until you get a smooth paste. You’re done when the mixture is thin enough to resemble a squeezable toothpaste! Put the mixture in a BPA-free tube and use it like any other toothpaste.
Diatomaceous earth-based
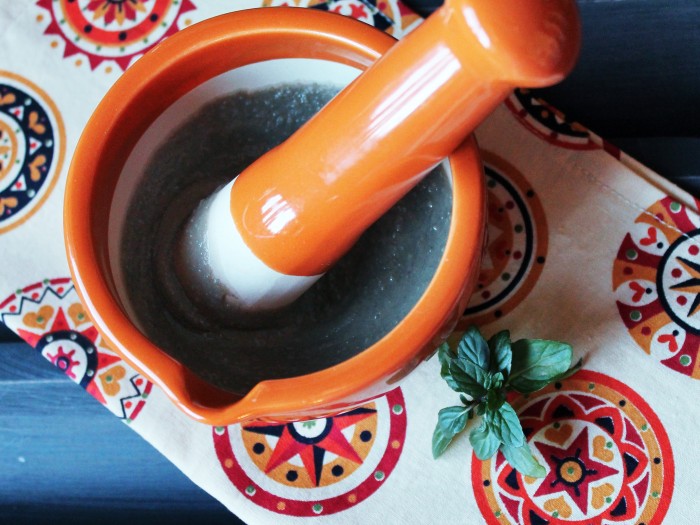
– 4 Tbsp food grade diatomaceous earth
– 2 Tbsp baking soda
– 2 Tbsp bentonite clay (or 2 more Tbsp of baking soda if you don’t have the clay on hand).
– ¼ tsp stevia (the plant)
– 6 Tbsp coconut oil
*Optional*
– Essential oils of your choice (to taste)
– Water to thin
Mix all ingredients together and store in a BPA-free plastic or silicone tube.
Recipe via: It’s a Love/Love Thing
Toothpaste For Kids
Your kids probably won’t be as excited to go au natural as you are, especially if they’re used to the sweet, foamy toothpaste that are generally geared toward them. The idea is still the same, but the essential oils and sweeteners become less optional.
What You’ll Need
– 3 Tbsp coconut oil
– ¾ tsp real salt
– 1 tsp baking soda
– 2 Tbsp bentonite clay
– 10-15 drops of peppermint or cinnamon essential oil (or any other really, according to their tastes).
– A pinch of ground stevia
– Water to thin
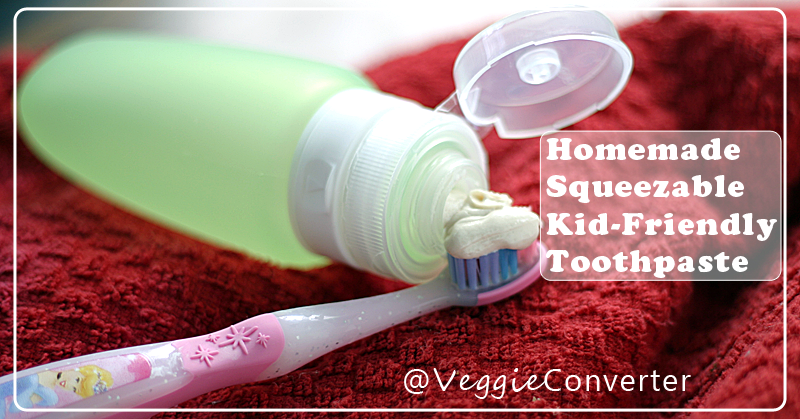
Mix all of the ingredients together until super smooth and then transfer to a tube. If your kid is resisting, try decorating the tube – It made all the difference in the world with my nephew!
Recipe via: Veggie Converter
Alternatively….
If you don’t have the time to mix these toothpastes or have the money to go out and buy those things, don’t worry! You can totally still go natural with one ingredient almost everyone has…
Baking soda.
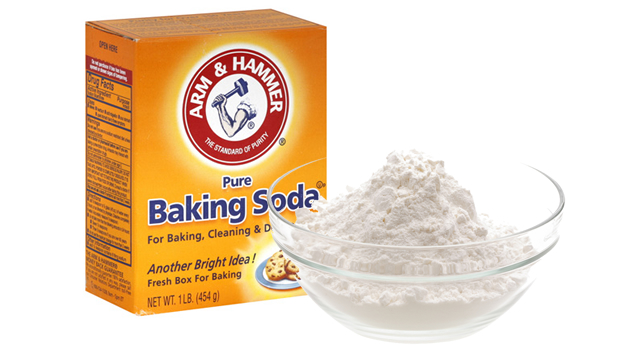
Yep. That’s it! Simply make a paste with baking soda and water (distilled if your water has fluoride in it) and brush your teeth with it. I’ve heard of some people just wetting their toothbrush and dipping it in the box of baking soda and the proceeding to brush their teeth, but depending on the state of your oral health, that might be too abrasive. The paste method makes the baking soda less abrasive than most commercial toothpastes. If you’d like a little more texture, add coconut oil.
And there you have it! Natural toothpaste doesn’t have to be a long, complicated process; it just has to suit your unique needs.
