Getting your pedicure done at a salon does imply paying good money, considering you’d have to do it regularly. Doing it yourself at home is not so hard, but it requires patience and effort. The reason why it’s harder to do your pedicure than a manicure is because of the uncomfortable positions you’re adopting while working on your feet and toenails. Nevertheless, it doesn’t mean you should give up: doing your pedicure will save you the trouble of scheduling appointments at the salon and, of course, a lot of money!
The Perfect Pedicure
Step 1 – Preparing your feet
A lot must be done before applying nail polish on your toenails.
Your feet would not look very appealing if you have perfectly colored toenails, but your feet have calluses and corns.
You can even have a nail polish-free pedicure since the most important thing is that your feet look perfect.
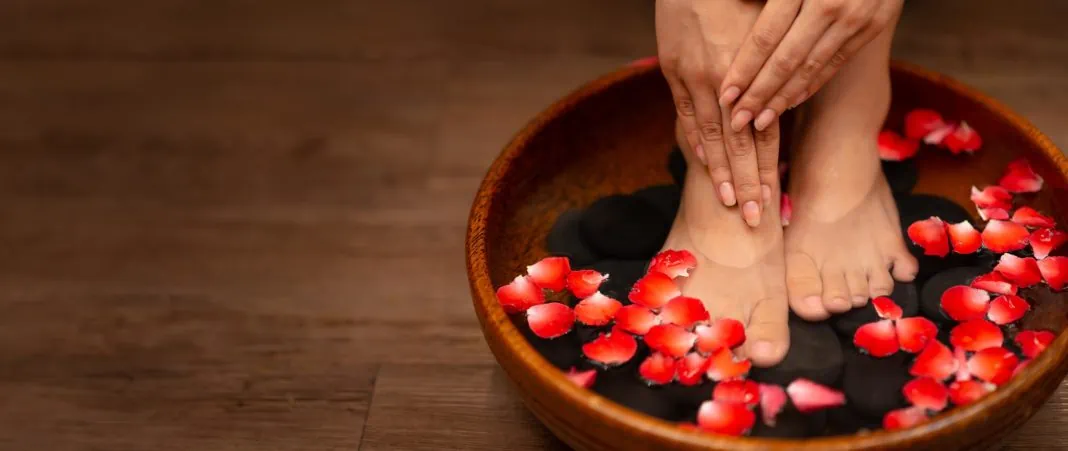
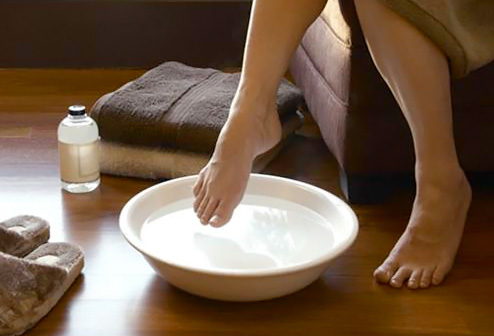
Soak your feet in warm water for 5-10 minutes to remove calluses and corns. Then you can use an exfoliating scrub, a foot file or a pumice stone if you’re not a serious case.
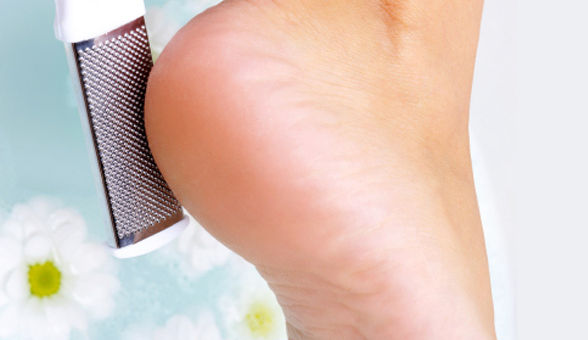
For very thick skin (which usually develops on the heels and can even be painful) you can use a foot grater. The foot grater is safer than a razor because there’s no risk of cutting yourself. To use a foot grater correctly, don’t apply too much pressure; use it only on areas with thick, hardened skin.
Having the feet’s skin as smooth as a baby’s bottom may sound very tempting, but that’s not the way to go either. Just like thickened skin can be painful, thin skin can hurt, too since the feet carry your entire body weight.
Step 2 – Softening the skin
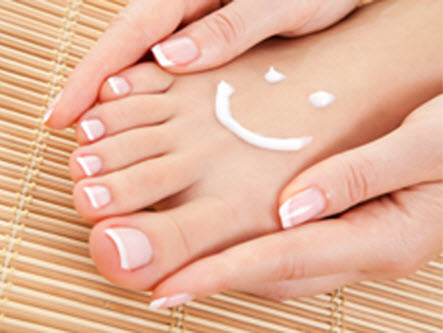
Use a foot moisturizer to soften the skin on your feet. If you have ragged cuticles, you can apply a special moisturizer or oil on them too. Don’t push back your cuticles, as this can lead to infections. You can also add a moisturizer to your foot soak. It can be something natural, such as honey or a store-bought product. It doesn’t matter as long as it works for you.
Long-term, it’s not enough to moisturize your feet only when doing the pedicure. Every time you take a bath or shower in the evening, you can generously apply an oily moisturizer on your feet, put on some cotton socks, and leave them on overnight. The next morning your feet’s skin will be much softer and better looking.
Step 3 – Cleaning & brightening toenails
If you want the perfect pedicure, you must ensure you don’t have any old nail polish left on, before applying a new layer.
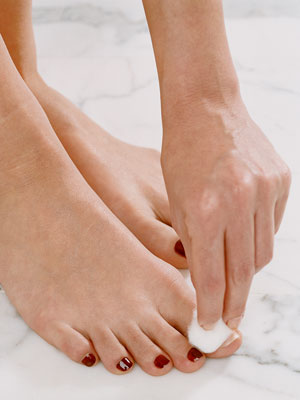
Use an acetone-based polish remover for darker shades of nail polish or an acetone-free polish remover for lighter shades. Because you are working with nail polish remover, it is best to do your manicure after you’re done with the pedicure. Otherwise, you’d have to wear gloves.
If your toenails are stained or yellow (from wearing nail polish most of the time), you can apply some lemon juice to brighten the nails, remove the stains, or place some thin lemon slices on your nails and leave them on for 5-10 minutes.
Step 4 – Trimming the toenails
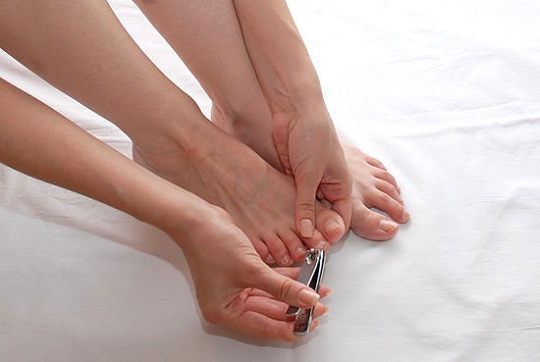
To prevent ingrown toenails, you should cut them straight across and avoid cutting into the sides of your nail.
File your nails to give them a finished look, and ensure they all have the same length and shape.
Use a manicure stick to clean underneath them. The manicure stick is made of wood or plastic so it’s hard enough to let you clean your nails properly and soft enough so you don’t harm yourself.
Step 5 – Applying the nail polish
This step is, of course, optional. You don’t need to apply nail polish unless you want to, and it’s good to go natural occasionally. It allows your toenails to breathe and regenerate.
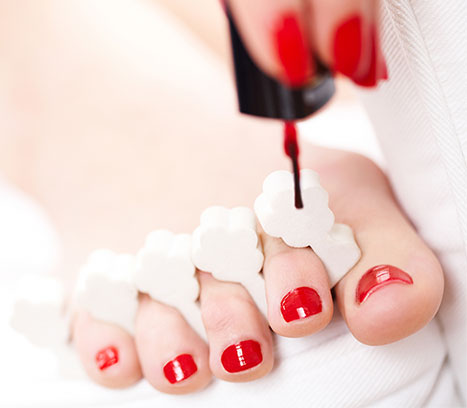
Put on some flip-flops (unless you want to stay barefoot until the nail polish dries) and toe separators to make sure your toes don’t touch each other while you’re applying the nail polish and ruin your pedicure.
To begin with, apply a clear base coat and let it dry. For a natural-looking pedicure, you can stop here. Then you can apply 1-2 layers of colored nail polish (depending on the type of nail polish, some can look good with just one layer while others require applying two layers).
Allow the nail polish time to dry between applying new layers. The last coat should be a transparent, quick-dry nail polish to get a smooth, shiny surface. This will also protect the color of your nails so they look beautiful for a longer time. Avoid wearing closed shoes for a couple of hours. That’s why it’s best to do your pedicure when you know you don’t need to leave the house for a while.
It’s very easy to make mistakes, especially with dark-colored nail polish, so at the end, use a Q-tip dipped in nail polish remover to wipe out any excess nail polish from the skin surrounding your toenails. Now, you can enjoy your perfect DIY pedicure!
